How about a bug screen to put in the hatchway to use on those warm summer nights? Over the years, I've always needed something, but just... haven't gotten around to it. Doing it in wood, would just take so long to make it look nice. So... throwing the 3D printer at the problem, I came up with the this. It took a couple of hours to CAD it up, but after that, the printer does most of the work. Besides it makes me more efficient that its working while I work on another project out in the boat.
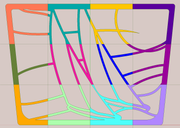
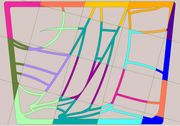
My printer only has a 210 x 250 mm bed, so I have to partition it up into 12 panels.
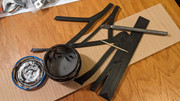
Using ABS, its very simple to just fuse the pieces together using Acetone.
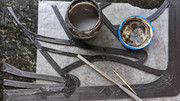
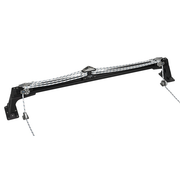
Here is the assembled screen so far...
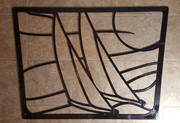
Need some cleanup, painting and then add the screen material...


 Thank you for the 411!
 when it comes to some of this 3D home shop of today
  we had an organization that had specialists who got to play with making the models in a remote facility.)