First, here's the kit you receive,
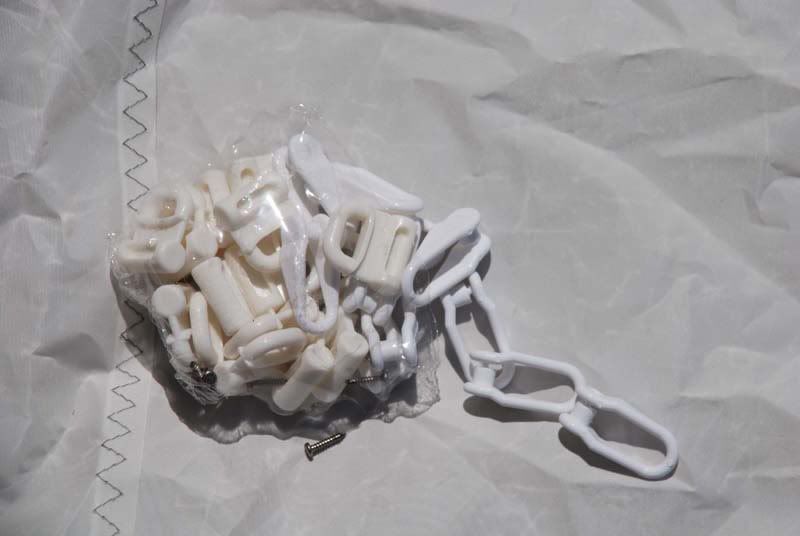
You get 15 slugs, 15 shakles, 15 screws and also a sail-stop shrink wrapped together. The also send you a print out of instructions which you can find the text of in this thread:
http://macgregorsailors.com/phpBB/viewtopic.php?t=10654
The steps I used are pretty simple.
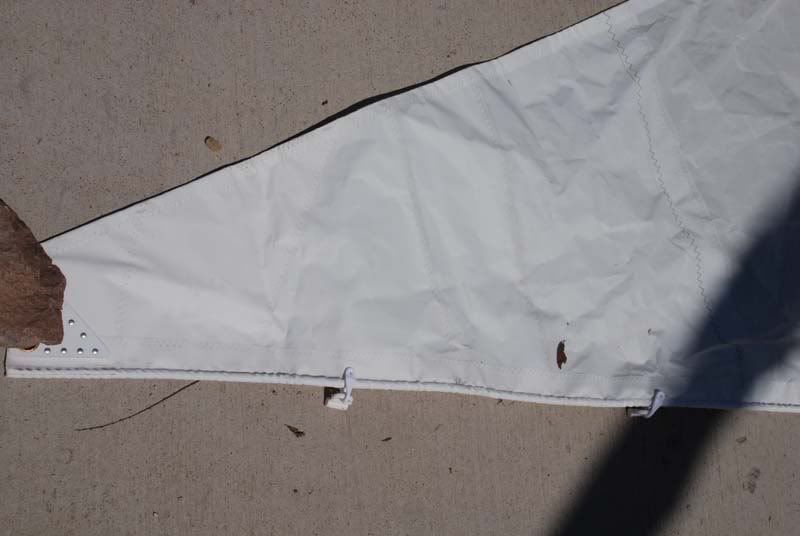
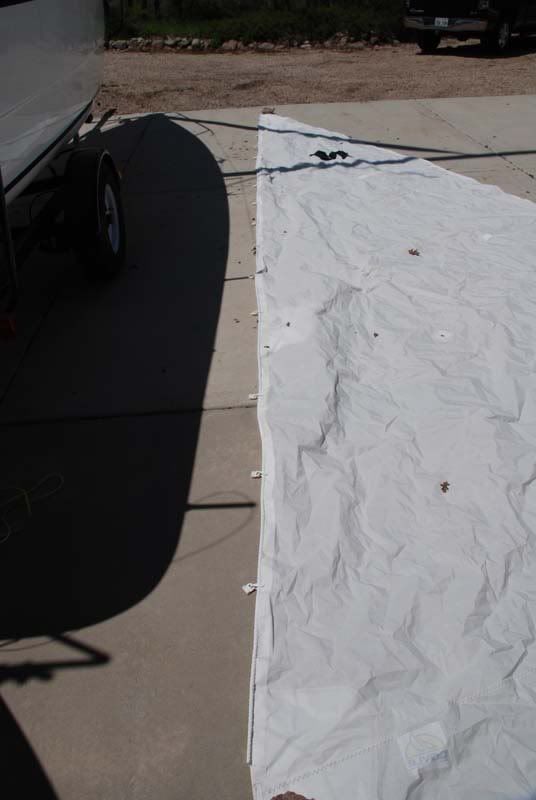
1. I laid my sail out on the driveway and anchored it down with some rocks.
2. I attached all the slugs to the shackles. You'll have to break a bit of residual plastic from the shackles to get them apart.
3. Plan your spacing. The kit comes with 15 and the spacing they send you doesn't even come close to working, they say there will be 12 of them used and 3 spares with a 12" spacing. So unless you've put 14' or so sail on that ain't gonna cut it. To get things to work well I had to use all 15. I started 15" from the head, per the included instuctions, then placed every 18" until I got to the reef point. (mine is a stock sail with a single reef)
Looks like this from the head:
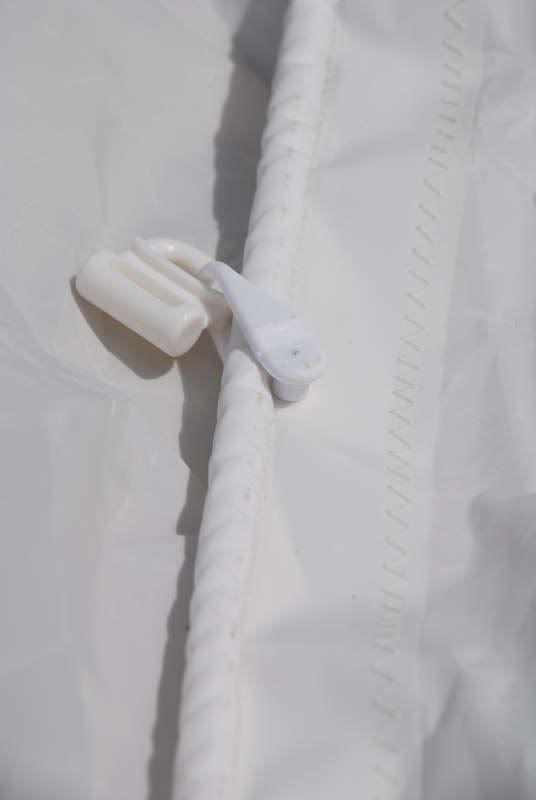
4. I started by laying the shackles next to where I wanted them to end up, and then clipped them on.
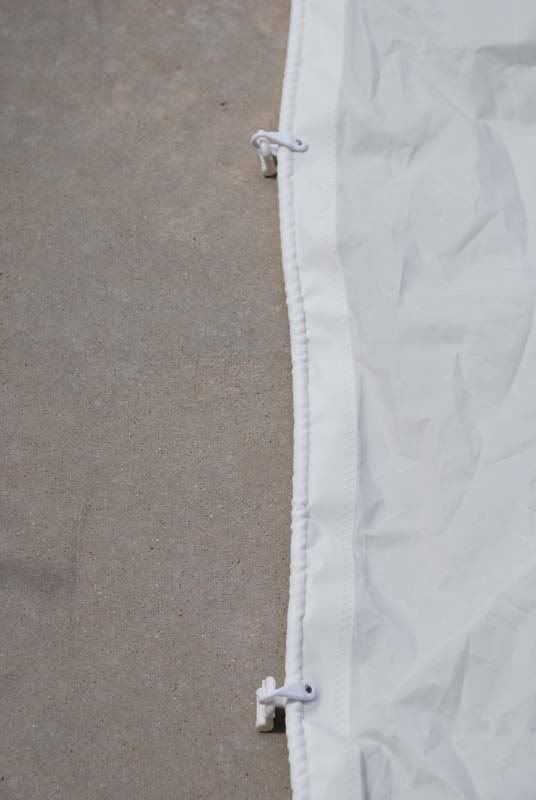
Like this:

An important thing about attaching them, you ought to put them so the posts that you screw through are right up against the bolt rope, this will prevent the tension from being placed on the sail and will make sure it is on the bolt rope.
Here's a shot:
5. With this spacing I ended up 14" above the reef point. This looked good so I then added the next one 14" below the reef point and then continued the 18" spacing until I had used all the slugs. After everything was installed I tested reefing the sail and it works perfectly to allow reefing without removing the stopper.
6. Screw everything together. One problem I have is that the kit some with flathead screws. I have no idea why this type of screw still exists. On some of the shackles it was pretty difficult to get the screw started and having the screwdriver slip around while trying to apply pressure and hold a tiny screw was not fun.
Screwed in looks like this:
One important thing to note, the instructions say something to the effect of "don't worry about over tightening", what they actually mean is make sure you don't come close to over tightening. The screws are long enough to punch right through the backside and the last thing you need are a bunch of metal points sticking out on a sail. I found that if I placed a finger on the back side as I tightened them I could feel a bump forming before it punches through and then I'd back off a touch.
Anyway when it's all done you'll have something like this:
It's a simple process and took less than 30 minutes.