DIY Shore Power Install

A forum for discussing boat or trailer repairs or modifications that you have made or are considering.
User avatar
Highlander
Admiral
Posts: 5995
Joined: Wed Sep 21, 2005 8:25 pm
Sailboat: MacGregor 26M
Location: Maccutter26M 2008 75HP Merc. 4/S Victoria BC. Can. ' An Hileanto'ir III '
Contact:

Re: DIY Shore Power Install

Post by Highlander »

Here ,s how i ran 1 1/2" conduit along the port side under the galley of my M
http://i844.photobucket.com/albums/ab1/ ... 3d55f0.jpg

http://i844.photobucket.com/albums/ab1/ ... d2ddaa.jpg

http://i844.photobucket.com/albums/ab1/ ... f37d83.jpg

http://i844.photobucket.com/albums/ab1/ ... 960b64.jpg

http://i844.photobucket.com/albums/ab1/ ... e16be9.jpg

http://i844.photobucket.com/albums/ab1/ ... fab5e6.jpg

http://i844.photobucket.com/albums/ab1/ ... 919499.jpg

http://i844.photobucket.com/albums/ab1/ ... a6093e.jpg

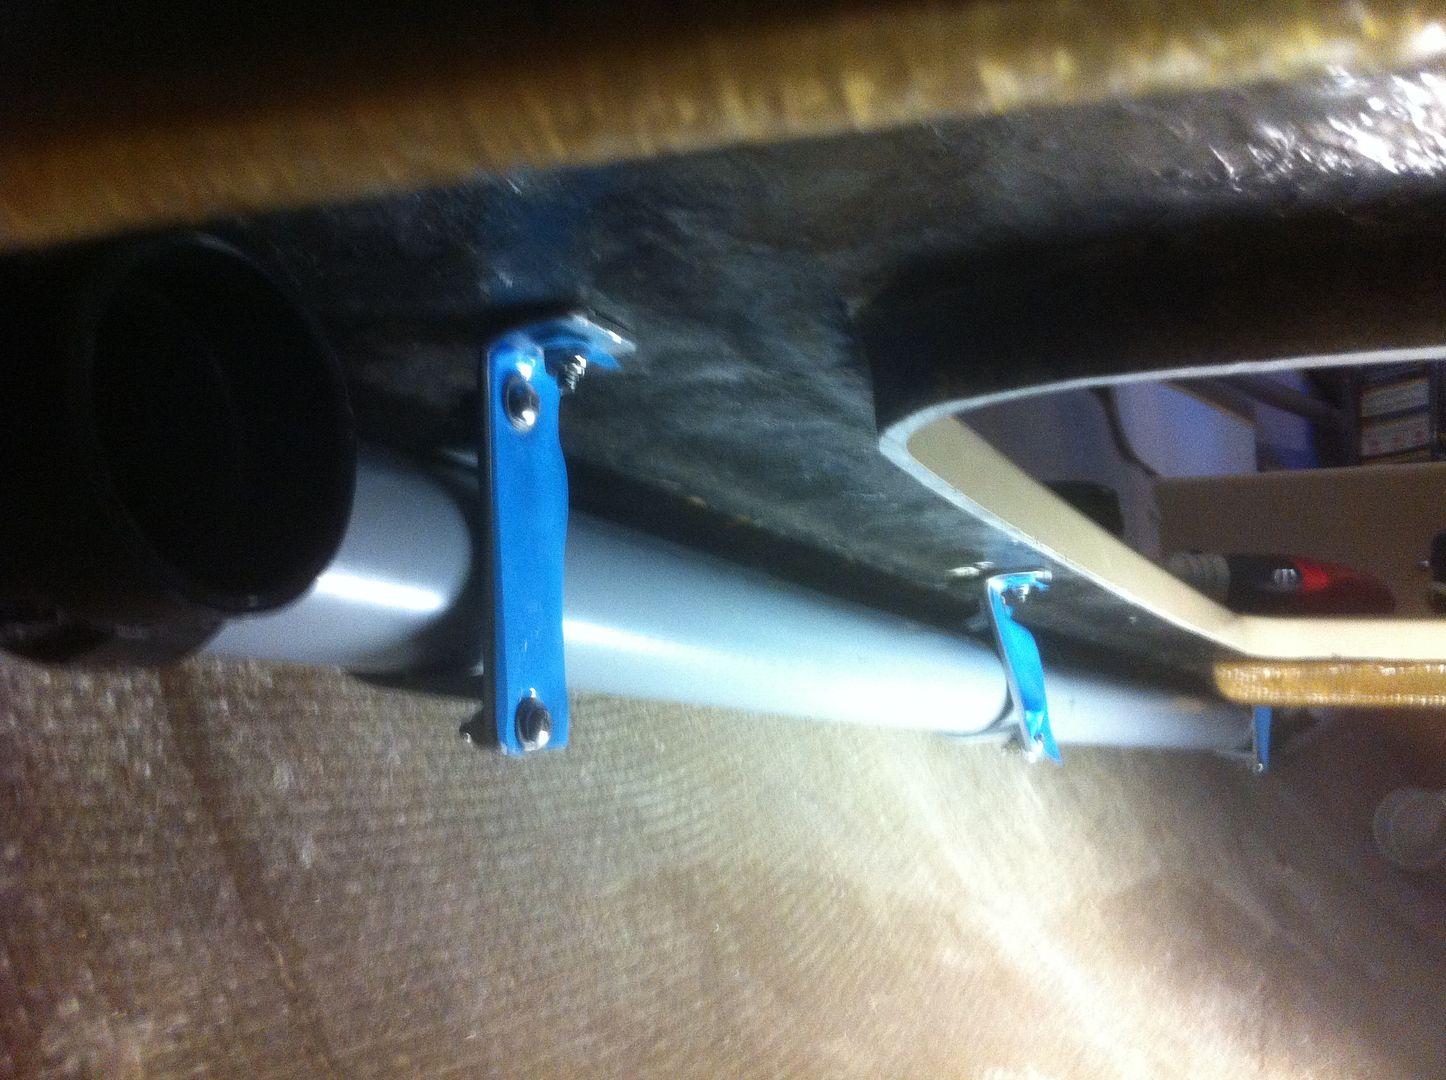
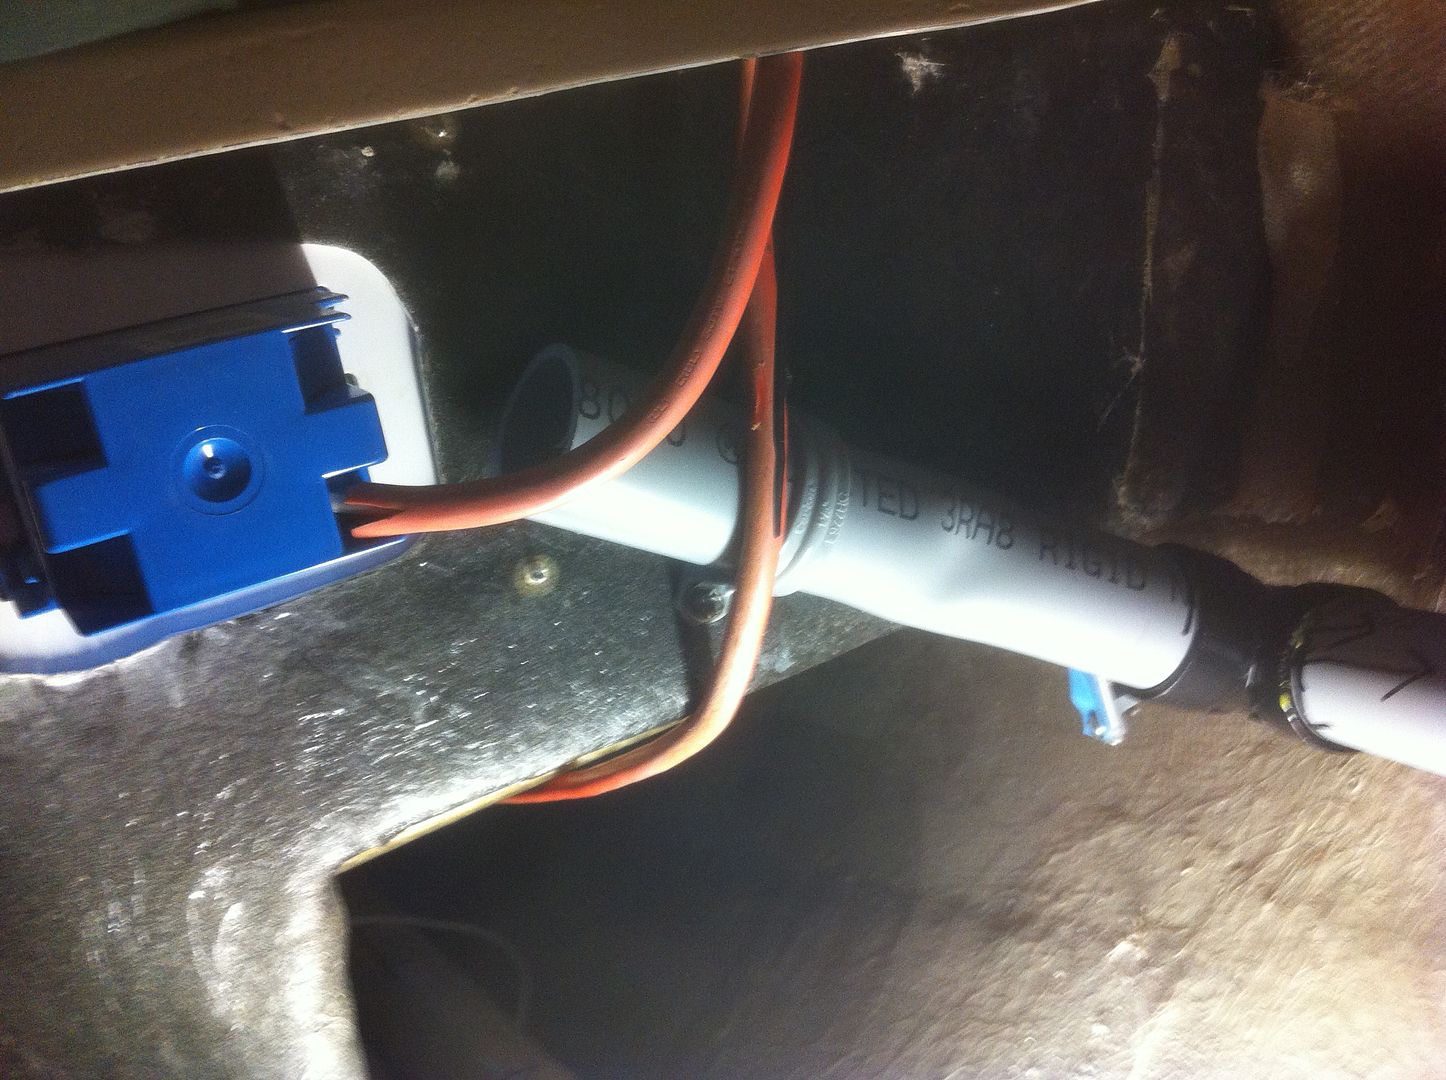
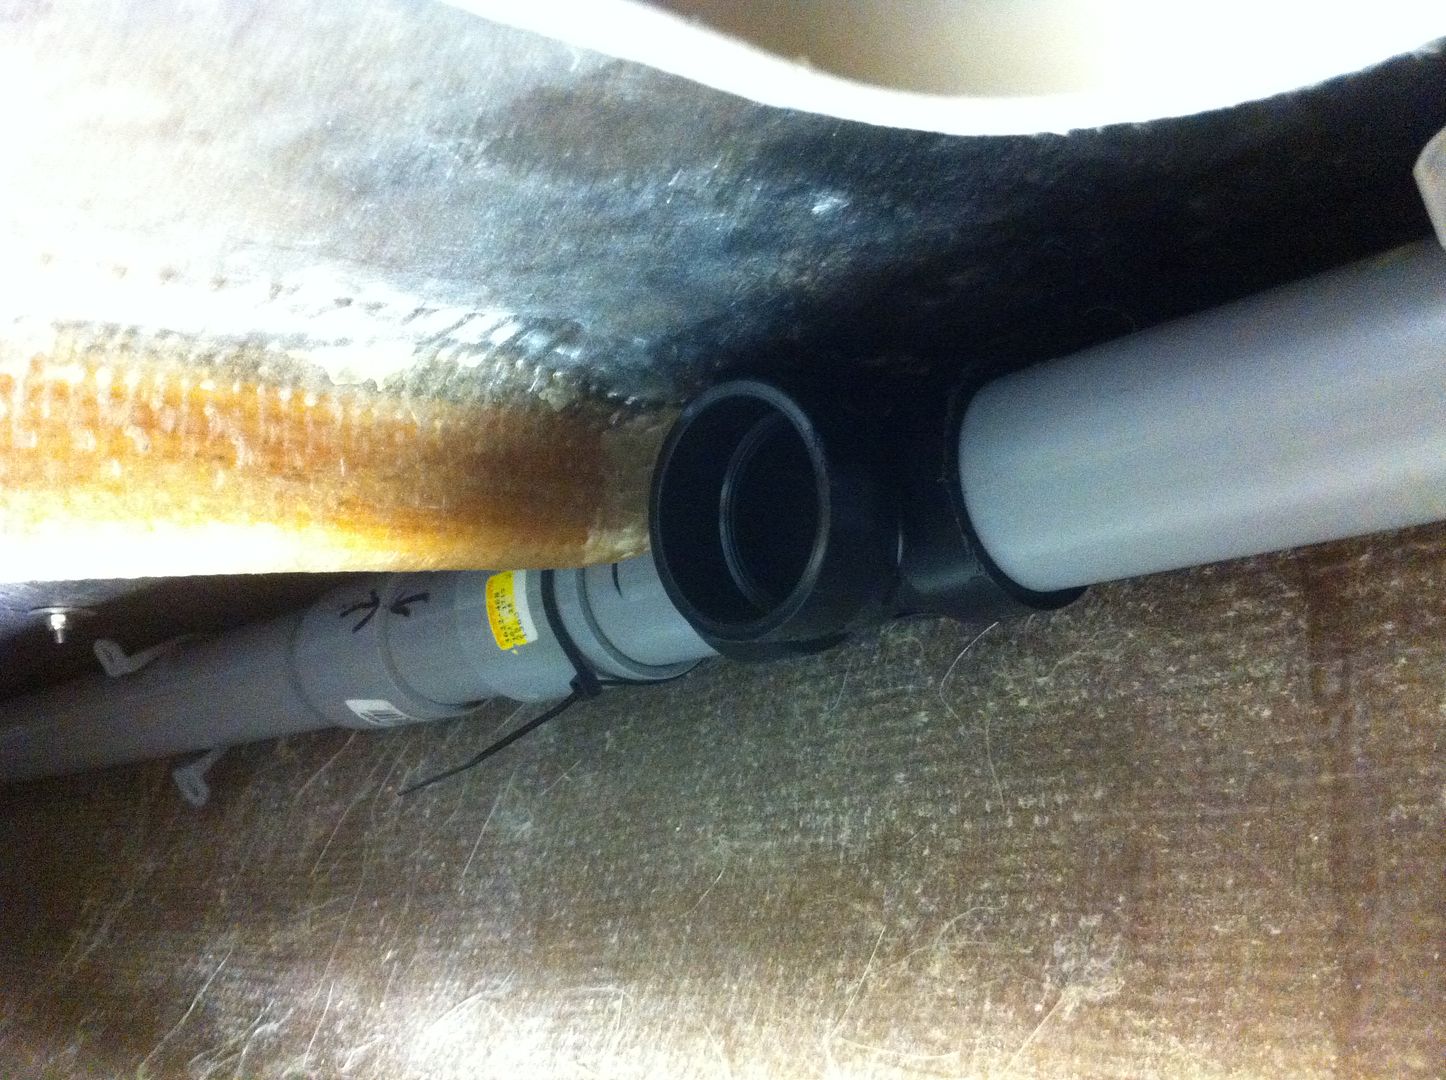
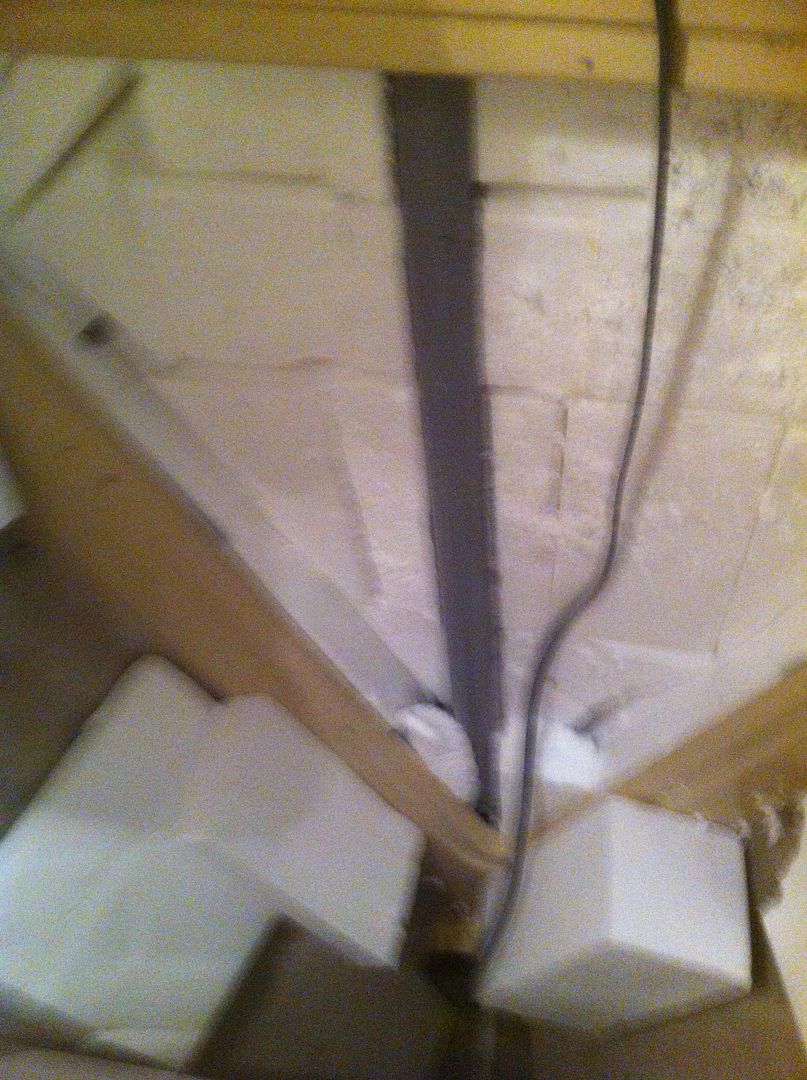
made three T junctions one @ steps, one midships the other one under the v berth
http://i844.photobucket.com/albums/ab1/ ... cd4fd4.jpg


http://vid844.photobucket.com/albums/ab ... de2462.mp4

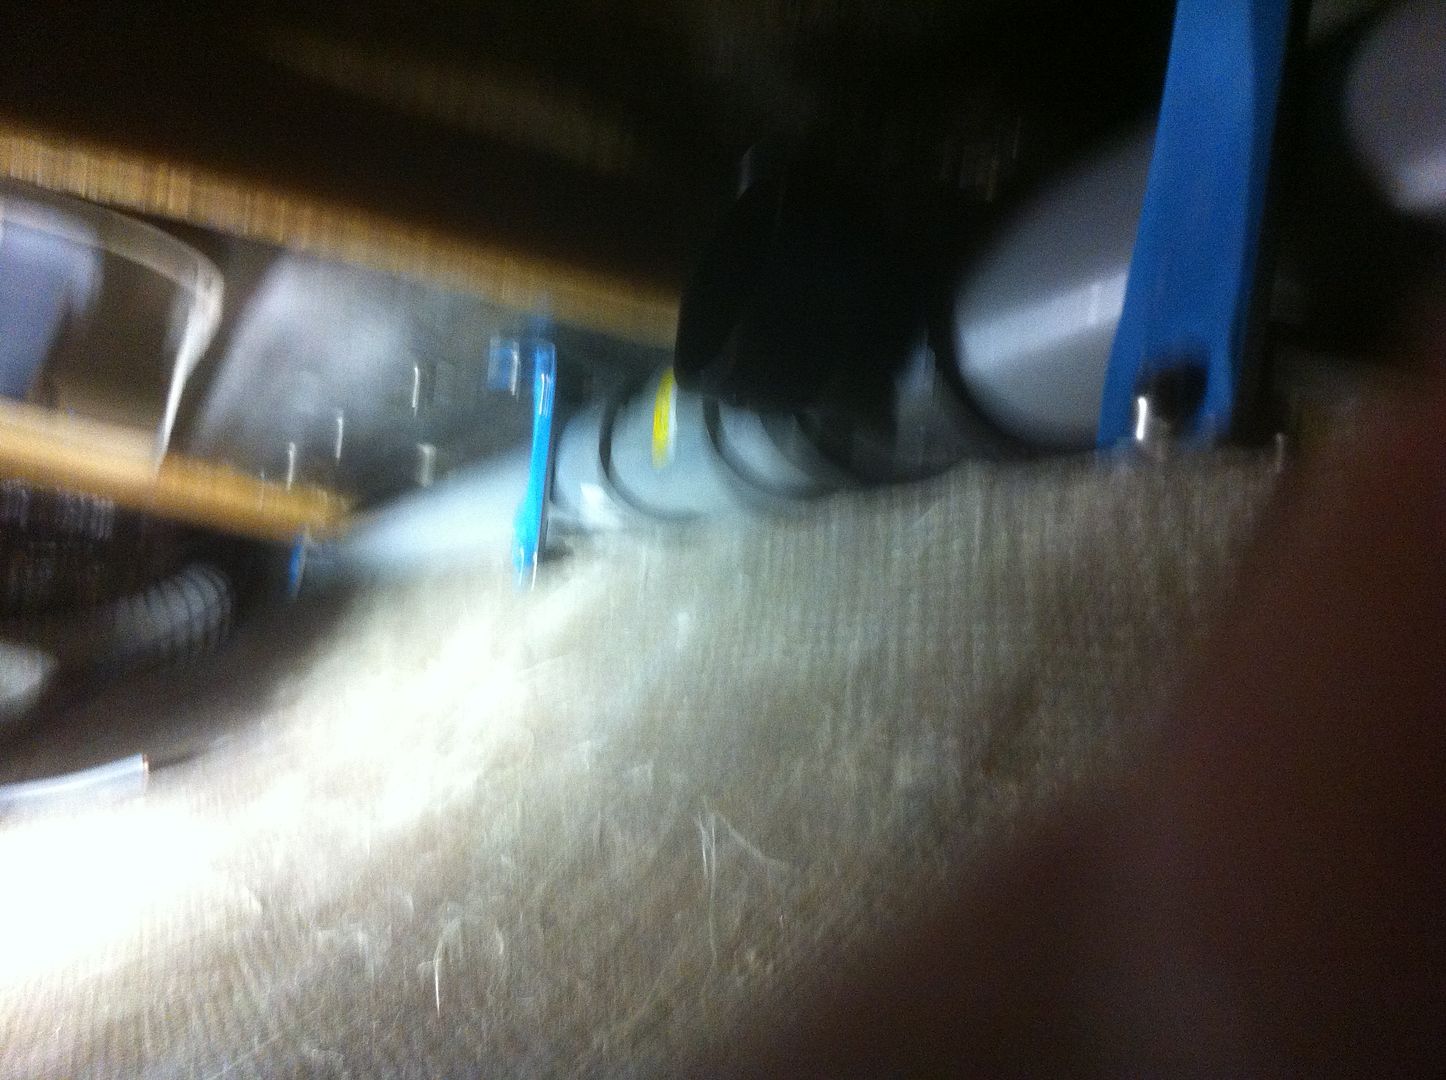
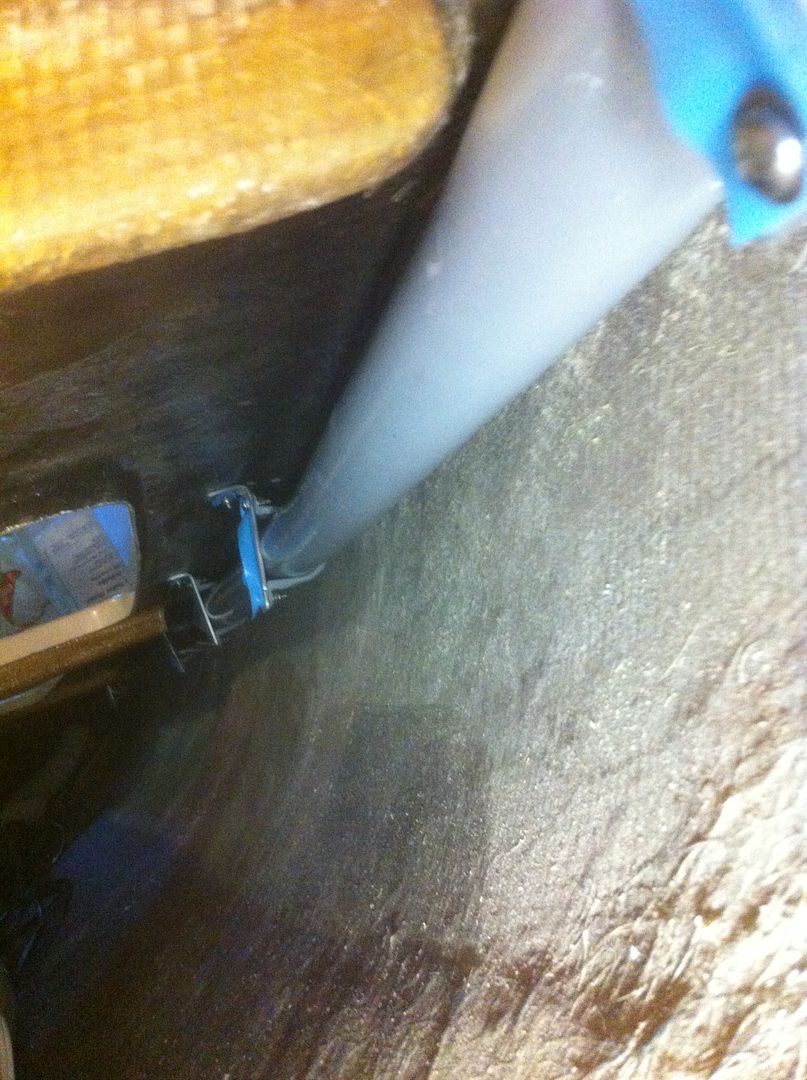
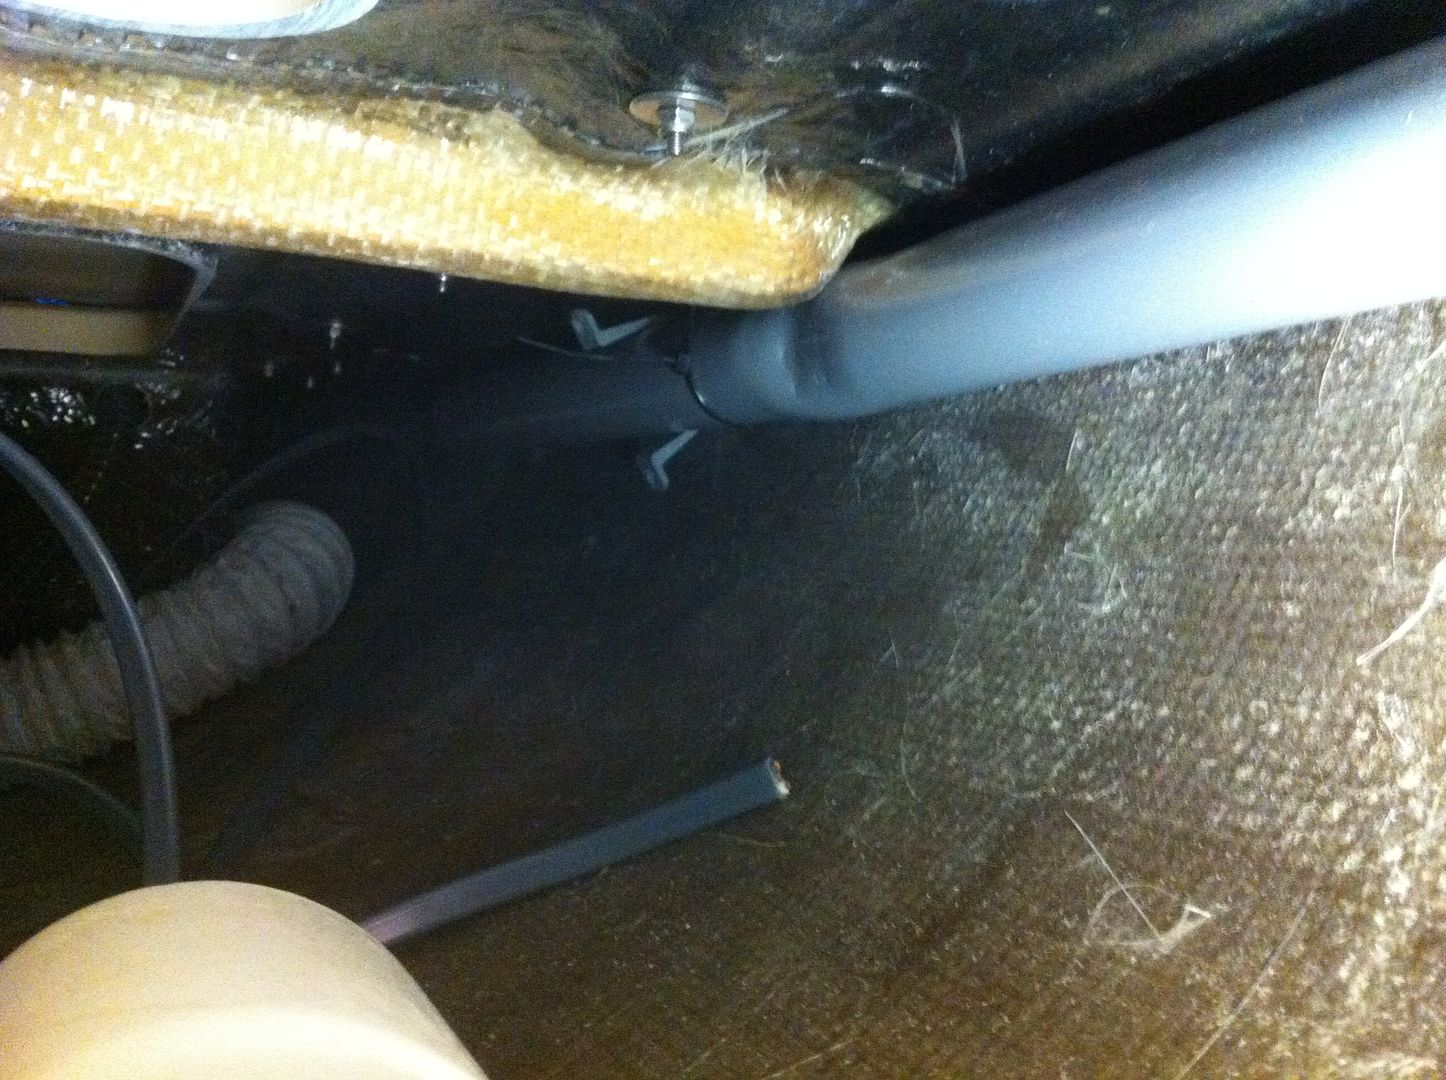
heated the conduit & squeazed it so as it would fit into the slots where the seat ribs were
http://i844.photobucket.com/albums/ab1/ ... eef483.jpg

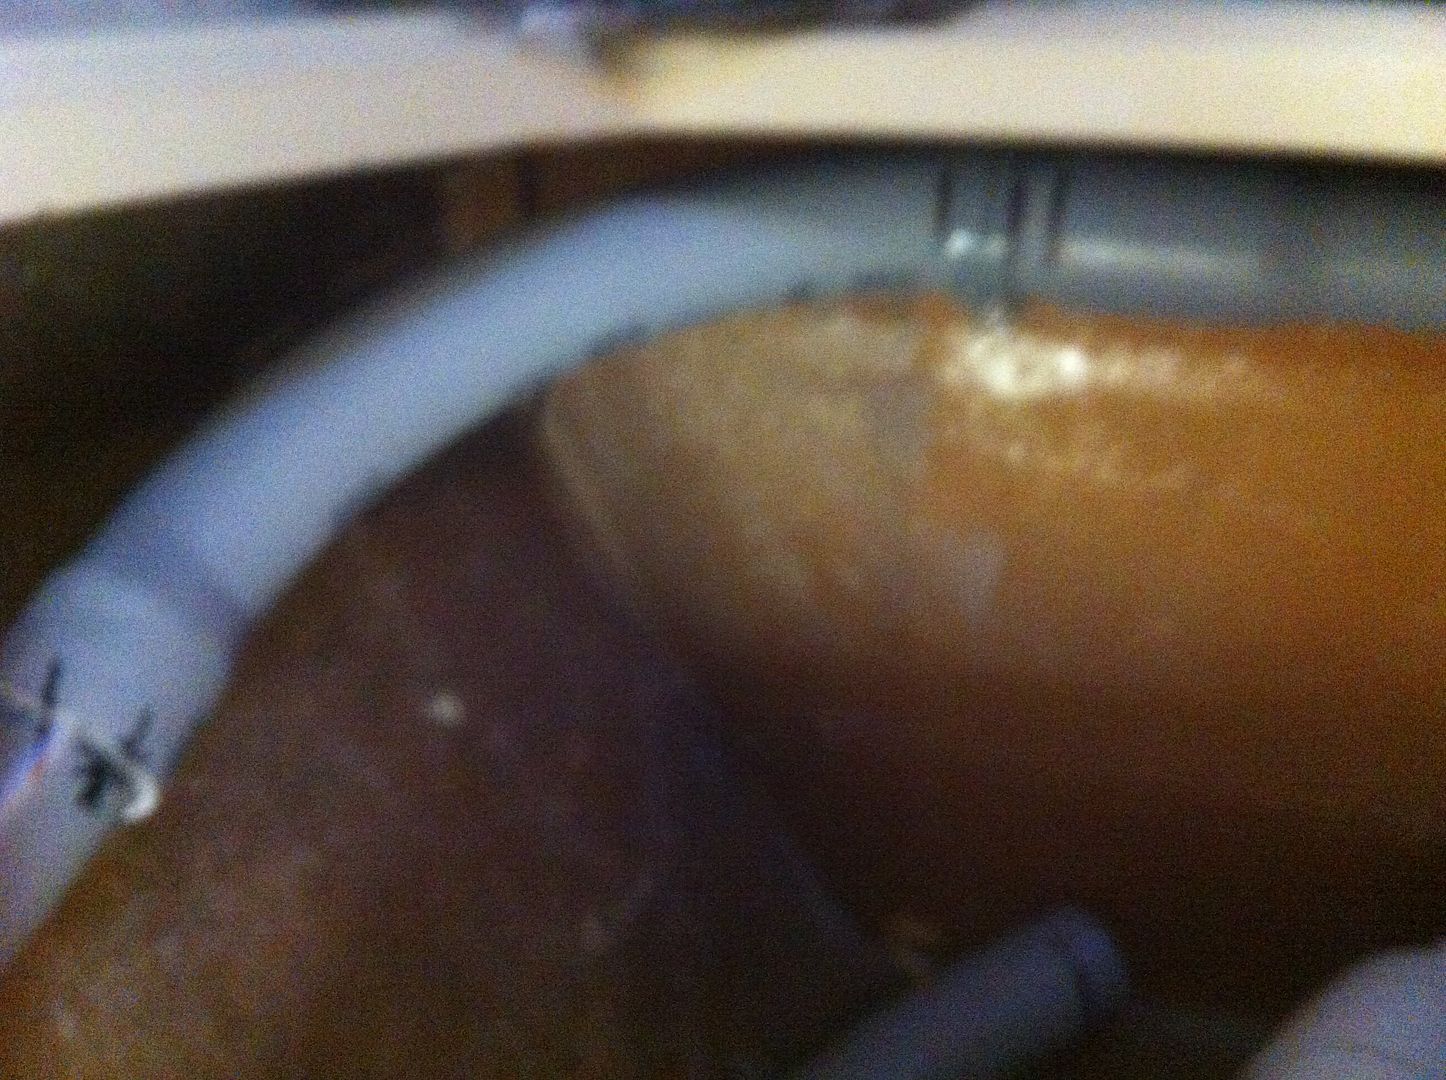
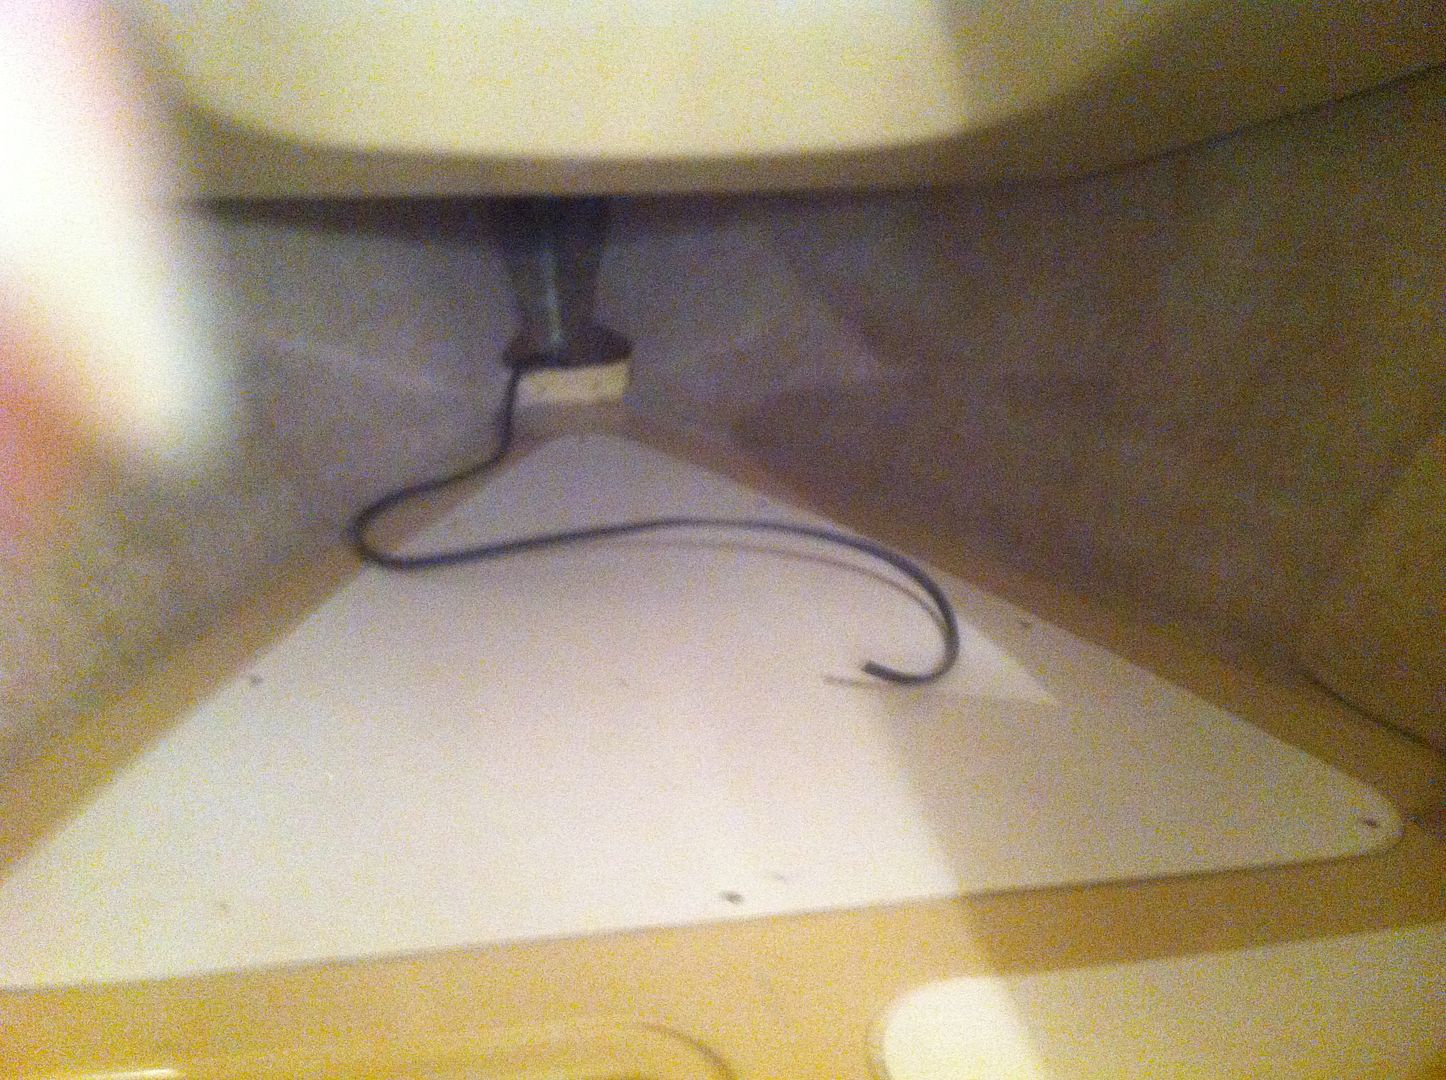
I also ran conduit through the v-berth flotation chamber made running wire through there a breeze
http://i844.photobucket.com/albums/ab1/ ... 71f239.jpg

http://i844.photobucket.com/albums/ab1/ ... e8f2ca.jpg

http://i844.photobucket.com/albums/ab1/ ... 665c24.jpg

hope this gives u some ideals
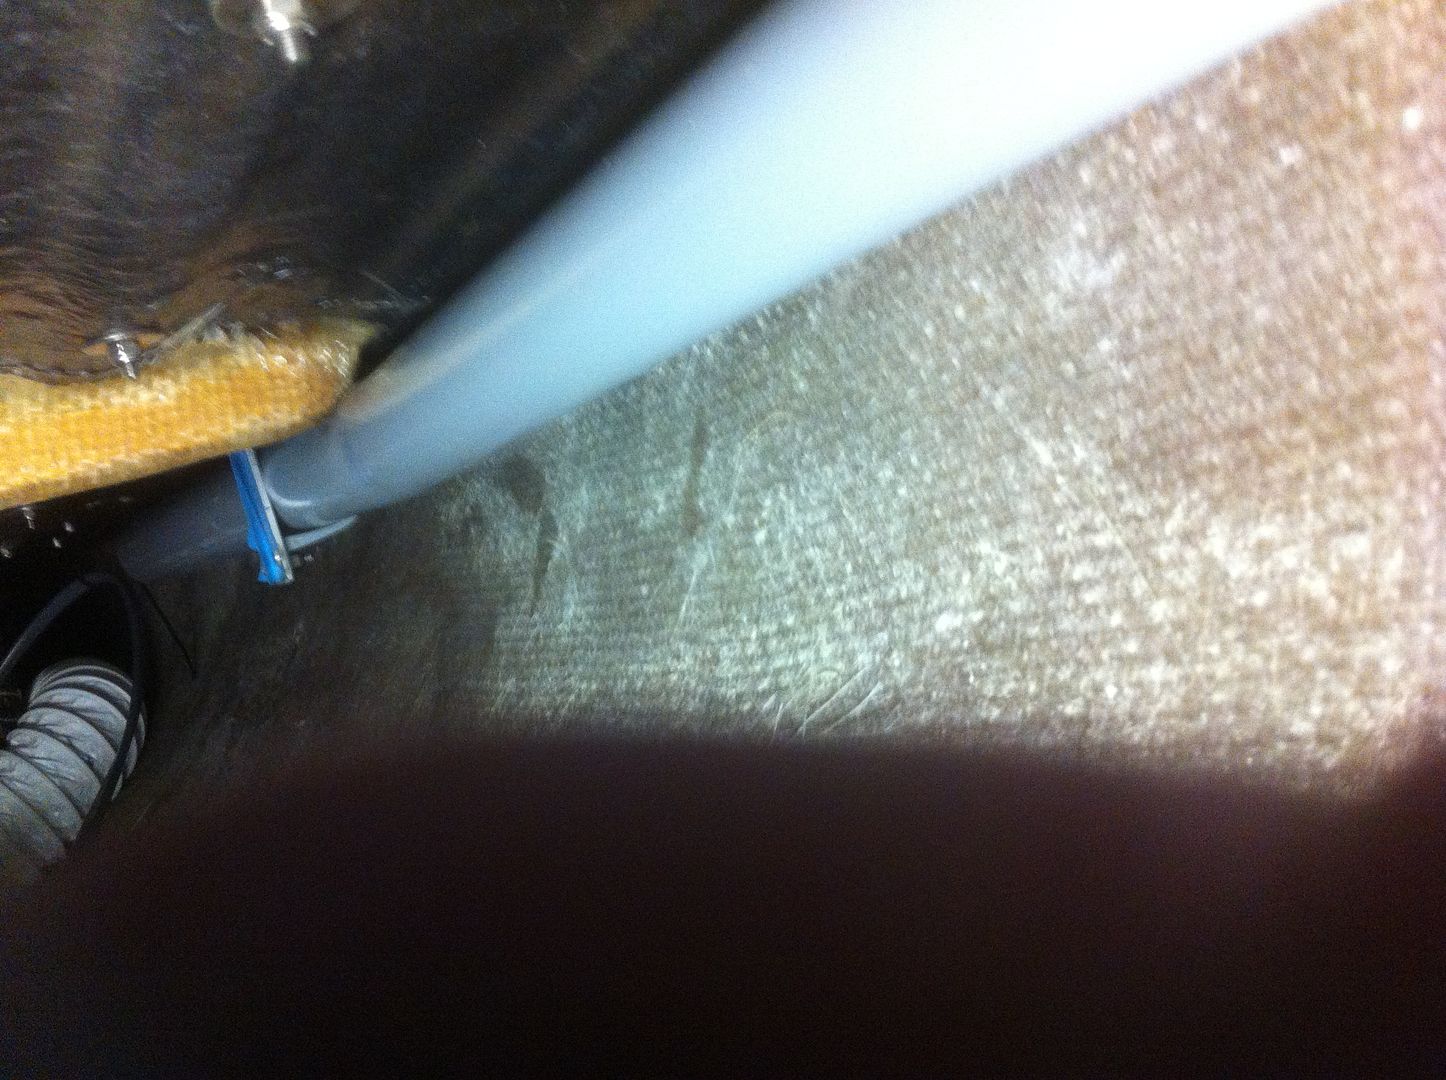
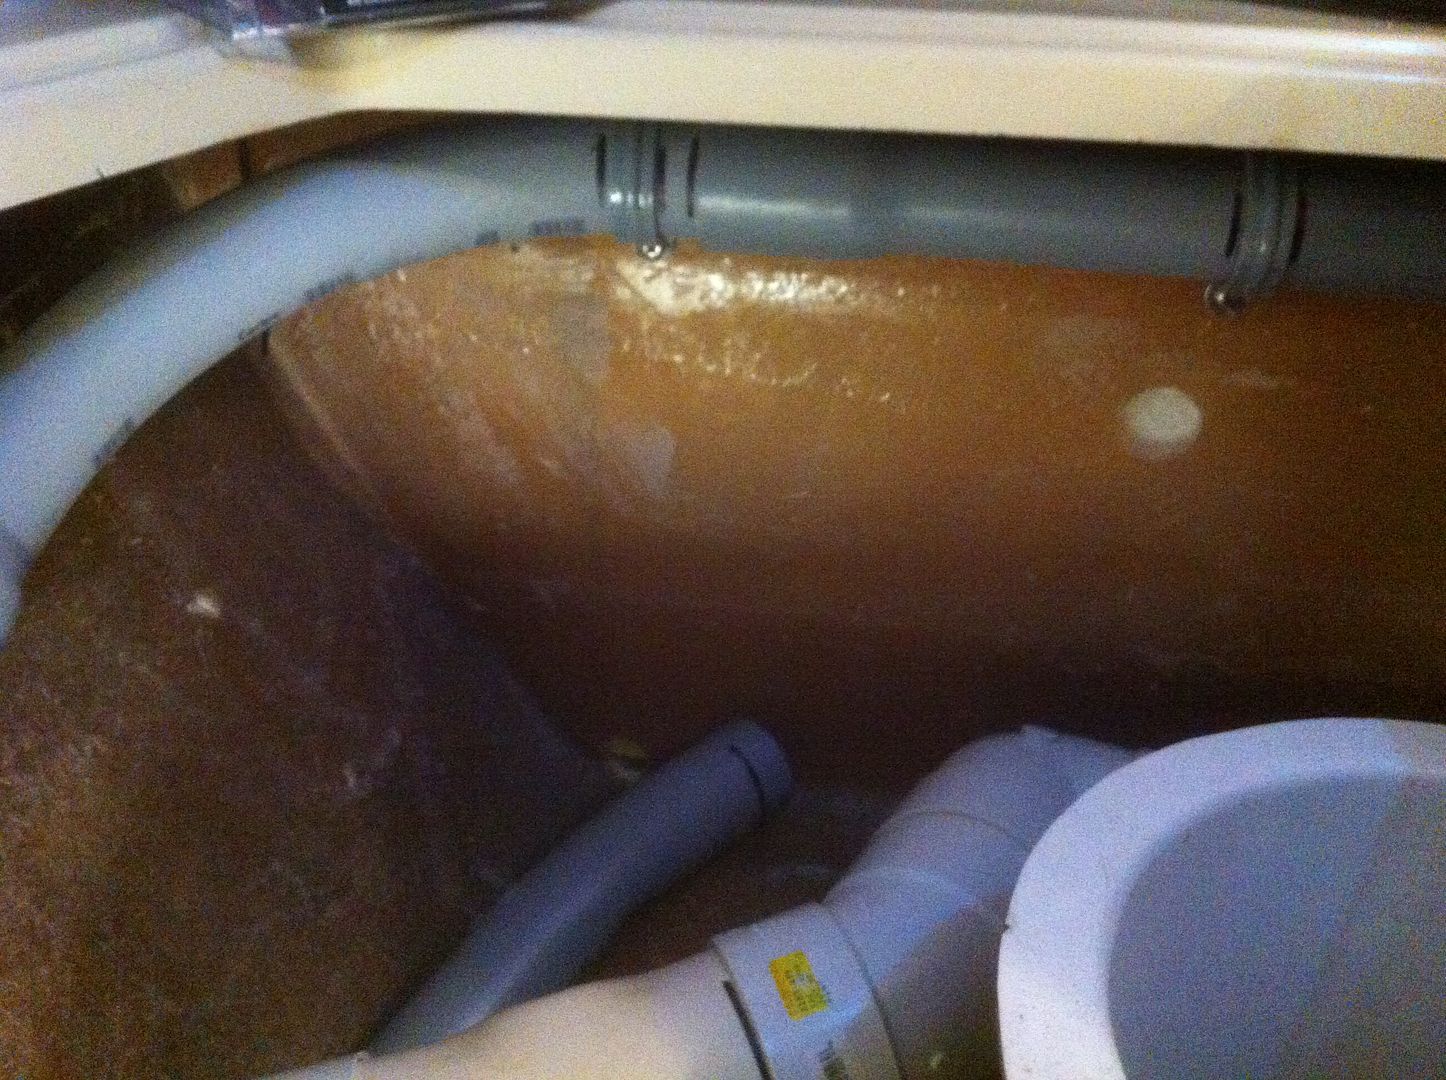
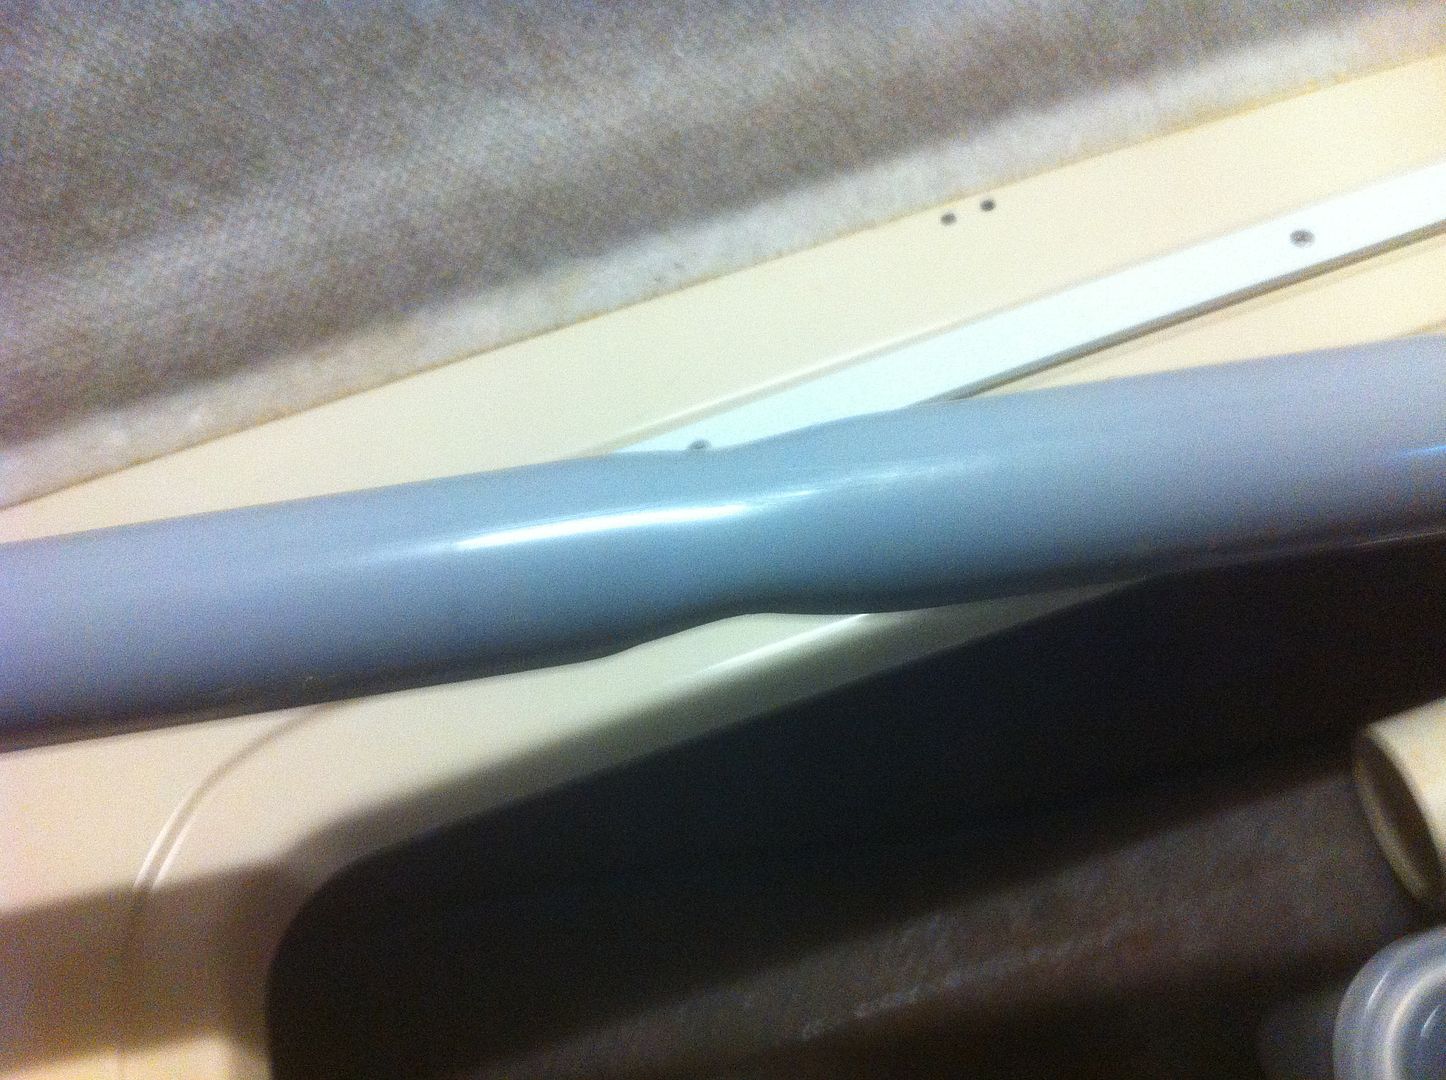
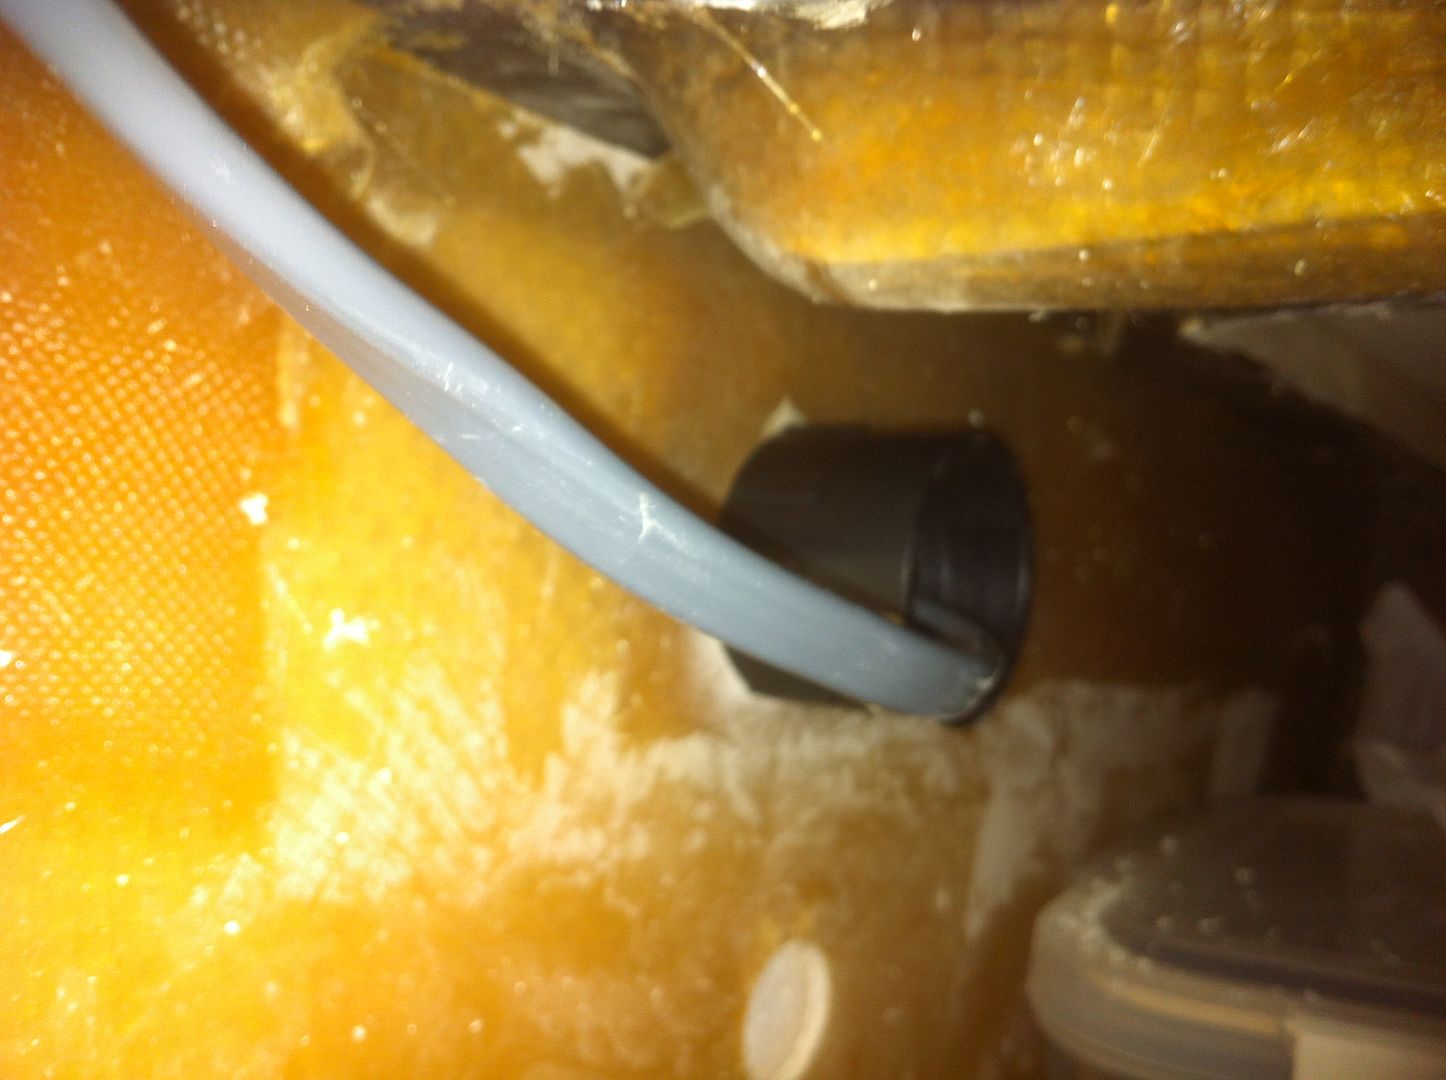
the conduit is approx 3/16" -1/4" away from the hull so as not to chaff when the hull flexes :arrow: :idea: :wink:
J 8)
PS if I was to do it again I think I,d go with the 2" conduit
User avatar
Wind Chime
Captain
Posts: 866
Joined: Sun Jan 21, 2007 4:30 pm
Sailboat: MacGregor 26X
Location: Vancouver, B.C. Canada. 2000-26X, Suzuki-50hp, 8' Walker-Bay tender (with sailkit)
Contact:

Re: DIY Shore Power Install

Post by Wind Chime »

Thanks for the photos Highlander,

Yes, this really helps and gives me ideas I was not even thinking of.
I would never have thought to use standard t-connectors for the juntions - brilliant!

- Did you have to fabricate the hanging metal L-brackets and drill the holes to match the gray plastic c-clamps, or was it an off-the-shelf item at Home Depot?
- If you had a do-over, why do you say you would go to larger 2" pipe instead?

Darry
User avatar
Whipsyjac
First Officer
Posts: 296
Joined: Mon Apr 02, 2012 10:06 pm
Sailboat: MacGregor 26X
Location: White Rock, B.C. 96 26X Hull#486 96Merc ELPT 50HP 4 Stroke

Re: DIY Shore Power Install

Post by Whipsyjac »

Darry,

I have a heat gun if you need one to bend the conduit.

Willy
User avatar
Wind Chime
Captain
Posts: 866
Joined: Sun Jan 21, 2007 4:30 pm
Sailboat: MacGregor 26X
Location: Vancouver, B.C. Canada. 2000-26X, Suzuki-50hp, 8' Walker-Bay tender (with sailkit)
Contact:

Re: DIY Shore Power Install

Post by Wind Chime »

Thanks for the offer Willy,

I have a heat gun as well, but like some of my other cool tools it hardly gets used enough to justify the purchase, so I'm always looking for something to use it for. Like - hey can I use the heat gun for this - or, hey can I use the heat gun for that ... maybe I should swap it out with Leisa's hair dryer for a while :o uhhh, or maybe not.


ps
It was great day-sailing with you at the http://www.MYCBC.ca Heavy-Weather MacFoulie. I was praying for some rip-snorting weather that day so we could really "dip the rail & grind some sail", but at least it rained and we had some wind to sail :)
User avatar
RobertB
Admiral
Posts: 1863
Joined: Sun Jun 05, 2011 7:42 pm
Sailboat: MacGregor 26M
Location: Clarksville, MD

Re: DIY Shore Power Install

Post by RobertB »

Tomfoolery wrote:
RussMT wrote:I like that one without the meter. Who cares what the ac voltage is. And you can't do anything about it anyway.
The Blue Seas unit RobertB linked to is only $107 on Amazon, and a similar unit without the meter is $145. More money for no meter, but it's smaller. :P

http://www.amazon.com/Blue-Sea-Systems- ... 99R5QTS414

http://www.amazon.com/Blue-Sea-Systems- ... as+PN+1206

And I agree - I'd rather have an ammeter than a voltmeter, but I've had boats with installed appliances and 30A shore power (like most) with no meter, and never needed it. Just be aware of how much load you're putting on it. No harm in having a voltmeter, but if I could pay less to not have one, that's how I'd go. Doesn't look like that with Blue Seas, though. :P
The Blue Seas unit mentioned above for $107 is now only $87 on Amazon. I just ordered it.
User avatar
Highlander
Admiral
Posts: 5995
Joined: Wed Sep 21, 2005 8:25 pm
Sailboat: MacGregor 26M
Location: Maccutter26M 2008 75HP Merc. 4/S Victoria BC. Can. ' An Hileanto'ir III '
Contact:

Re: DIY Shore Power Install

Post by Highlander »

Wind Chime wrote:Thanks for the photos Highlander,

Yes, this really helps and gives me ideas I was not even thinking of.
I would never have thought to use standard t-connectors for the juntions - brilliant!

- Did you have to fabricate the hanging metal L-brackets and drill the holes to match the gray plastic c-clamps, or was it an off-the-shelf item at Home Depot?
- If you had a do-over, why do you say you would go to larger 2" pipe instead?

Darry
Because I also ran 36' of #6 triple battery wire through it also for my electric windlass

J 8)
User avatar
Wind Chime
Captain
Posts: 866
Joined: Sun Jan 21, 2007 4:30 pm
Sailboat: MacGregor 26X
Location: Vancouver, B.C. Canada. 2000-26X, Suzuki-50hp, 8' Walker-Bay tender (with sailkit)
Contact:

Re: DIY Shore Power Install

Post by Wind Chime »

So, no problems with running AC and DC wires in the same conduit?

Besides maybe the AC messing with the nav hardware a little, but assuming we are at the dock & plugged into shore power. (but what if the inverter is on generating AC while underway?)

Highlander wrote:
Wind Chime wrote:Thanks for the photos Highlander,

Yes, this really helps and gives me ideas I was not even thinking of.
I would never have thought to use standard t-connectors for the juntions - brilliant!

- Did you have to fabricate the hanging metal L-brackets and drill the holes to match the gray plastic c-clamps, or was it an off-the-shelf item at Home Depot?
- If you had a do-over, why do you say you would go to larger 2" pipe instead?

Darry
Because I also ran 36' of #6 triple battery wire through it also for my electric windlass

J 8)
User avatar
BOAT
Admiral
Posts: 4969
Joined: Fri Oct 19, 2012 5:12 pm
Sailboat: MacGregor 26M
Location: Oceanside, CA MACMJ213 2013 ETEC60

Re: DIY Shore Power Install

Post by BOAT »

I used 3/4 inch NM sealtite flex as conduit throughout 'boat' for all the AC wiring and also for all the DC wiring that I did that was not done by the factory. I did it the old navy way like you see in the old warships where they just have bundles of the stuff running along the overheads hanging from strut hangers. I pretty much did the same thing under all the berths and just pull in more sealtite as needed as I add stuff.
User avatar
Wind Chime
Captain
Posts: 866
Joined: Sun Jan 21, 2007 4:30 pm
Sailboat: MacGregor 26X
Location: Vancouver, B.C. Canada. 2000-26X, Suzuki-50hp, 8' Walker-Bay tender (with sailkit)
Contact:

Re: DIY Shore Power Install

Post by Wind Chime »

I’d like to clean up our D/C wiring at the same time as installing the new A/C Shore Power system.

Here is the existing wiring diagram that we have been using for the last number of years.

- It works well (never been low on power) but maybe there is a more efficient way of setting things up?
- Also, I would like to put in a master D/C On-Off switch. Where should this be installed - before or after the main fuse going to the breaker panel?

Image
Last edited by Wind Chime on Mon Oct 27, 2014 8:17 pm, edited 1 time in total.
User avatar
Sumner
Admiral
Posts: 2375
Joined: Sun Jan 04, 2009 3:20 pm
Sailboat: MacGregor 26S
Location: SE Utah
Contact:

Re: DIY Shore Power Install

Post by Sumner »

You want the main fuses within 6-8 inches of the batteries not further along in the circuit like you showed. You do want branch circuit fuses though.

Image

Image

http://purplesagetradingpost.com/sumner ... de-30.html

I made up the ones shown above, but now will go...

Image

http://www.pbase.com/mainecruising/battery_fusing

http://www.genuinedealz.com/marine-elec ... and-blocks

...with the ones above as they aren't that expensive and make for a cleaner installation.

Lots of ways to wire the rest. I'd want to be able to switch the loads and the outboard (for starting) between either battery or both myself if you have an outboard that can't be pull started like what most of you have I believe. To do that would require two main switches if you wanted the option of being able to do that with both the outboard and the loads but might payoff at some point.

Also if you are using a combiner like you showed you don't necessarily need to have a dual bank charger as the combiner will combine the batteries whenever there is a charging source (either the outboard itself or the 110 charger),

Sumner

============================
Our MacGregor 26-S

Our Endeavour 37

Our Trips to Utah, Idaho, Canada, Florida

Mac-Venture Links
User avatar
Wind Chime
Captain
Posts: 866
Joined: Sun Jan 21, 2007 4:30 pm
Sailboat: MacGregor 26X
Location: Vancouver, B.C. Canada. 2000-26X, Suzuki-50hp, 8' Walker-Bay tender (with sailkit)
Contact:

Re: DIY Shore Power Install

Post by Wind Chime »

Thanks so much Sumner!

I want our A/C and D/C systems to be as clean an organized as yours ... we have a ways to go :)

I really like your idea of those "fuse blocks" that attach right to the battery post. I have never seen those before, and will add them to both batteries in our system for sure.

The West Marine Combiner-50 has worked pretty well for us. It's an "easy" isolating system (don't have to worry about the selector switch), but it is limited in that it does not allow you to "isolate" or "select" a particular battery from the other (it only isolates them from each other when discharging, and always discharges the same house battery-#2 first), but - it does have an overide (green) wire that connects to an on/off switch that allows you to "combine" both battiers if you want.

On longer trips we bring a 3rd 12v-g24 battery that charges on the second bank of the A/C charger, this 3rd battery is not hooked up to the D/C system so it is never discharged (it's as a redundant back up - but we've never needed it).

Sumner wrote:You want the main fuses within 6-8 inches of the batteries not further along in the circuit like you showed. You do want branch circuit fuses though.

Image

Image

http://purplesagetradingpost.com/sumner ... de-30.html

I made up the ones shown above, but now will go...

Image

http://www.pbase.com/mainecruising/battery_fusing

http://www.genuinedealz.com/marine-elec ... and-blocks

...with the ones above as they aren't that expensive and make for a cleaner installation.

Lots of ways to wire the rest. I'd want to be able to switch the loads and the outboard (for starting) between either battery or both myself if you have an outboard that can't be pull started like what most of you have I believe. To do that would require two main switches if you wanted the option of being able to do that with both the outboard and the loads but might payoff at some point.

Also if you are using a combiner like you showed you don't necessarily need to have a dual bank charger as the combiner will combine the batteries whenever there is a charging source (either the outboard itself or the 110 charger),

Sumner

============================
Our MacGregor 26-S

Our Endeavour 37

Our Trips to Utah, Idaho, Canada, Florida

Mac-Venture Links
User avatar
Russ
Admiral
Posts: 8299
Joined: Thu Oct 11, 2007 12:01 pm
Sailboat: MacGregor 26M
Location: Bozeman, Montana "Luna Azul" 2008 M 70hp Suzi

Re: DIY Shore Power Install

Post by Russ »

Sumner, I always learn something from you.

These terminal block fuses are great. I'm getting some.

Image
User avatar
Sumner
Admiral
Posts: 2375
Joined: Sun Jan 04, 2009 3:20 pm
Sailboat: MacGregor 26S
Location: SE Utah
Contact:

Re: DIY Shore Power Install

Post by Sumner »

For what you are doing I'd take a hard look at Method 4 at this link (pdf file) .....

http://www.google.com/url?sa=t&rct=j&q= ... GE&cad=rja

It would let you choose either battery to start the outboard and in the "Both" mode allow you to use both batteries as the "house bank" if so desired. Also both batteries would be charged any time there is a charging source with the combiner. What it won't do is let you switch between batteries for the house bank if so desired. You would either be on battery #2 or both batteries with the main switch in the 'both' position.

Some Combiners (also ARC's) have a wire that you can hook to a starter switch (maybe your green wire???). It then isolates the batteries for sure while starting to avoid dropping voltage on some items that are on the house bank and that might not like the low voltage that can occur during starting but this is more for larger diesel inboards.

Also if you do combine the batteries make sure that the wires to the combiner and the combiner itself can handle starting currents if they are going though them,

Sumner

============================
Our MacGregor 26-S

Our Endeavour 37

Our Trips to Utah, Idaho, Canada, Florida

Mac-Venture Links
User avatar
Wind Chime
Captain
Posts: 866
Joined: Sun Jan 21, 2007 4:30 pm
Sailboat: MacGregor 26X
Location: Vancouver, B.C. Canada. 2000-26X, Suzuki-50hp, 8' Walker-Bay tender (with sailkit)
Contact:

Re: DIY Shore Power Install

Post by Wind Chime »

Thanks for that option Summer,

I am not sure of the difference between the option #4 you showed in your link, or the option #1 in this link below which is for the Combiner-50 that I have.

http://www.yandina.com/acrobats/C50Data.pdf
User avatar
Sumner
Admiral
Posts: 2375
Joined: Sun Jan 04, 2009 3:20 pm
Sailboat: MacGregor 26S
Location: SE Utah
Contact:

Re: DIY Shore Power Install

Post by Sumner »

Wind Chime wrote:Thanks for that option Summer,

I am not sure of the difference between the option #4 you showed in your link, or the option #1 in this link below which is for the Combiner-50 that I have.

http://www.yandina.com/acrobats/C50Data.pdf
It is the same. I never did find the one you were using for sure so just posted that one as a possible solution so no difference in them.

If you take the 3rd battery with you I'd personally put it in parallel with the one you use for your house bank as then they both would last longer. The combiner between those two in parallel and the other start battery would still work the same. Then when they wore out I'd replace the 2 12 volt batteries in parallel with 2 6 volt batteries in series for even a better combination. They would also still start the outboard if needed,

Sumner

============================
Our MacGregor 26-S

Our Endeavour 37

Our Trips to Utah, Idaho, Canada, Florida

Mac-Venture Links
Post Reply