Thanks Gipsy, I will look for it.
Now I have to say it is almost done. Almost means that I am always want more and better, but here is the update.
Pictures of the full enclosure are posted on the mod page
http://www.macgregorsailors.com/modt/in ... ?view=1352
I promised pictures of the process and here there are, To Suma and Ruth, now I know what were you talking about as I had no idea about sewing and seams and basting tape when I started this project. I think I used right size needle, and I know I used full seam, but in the first stage I didn’t used basting tape and that was mistake. Lesson learned and now I look into the finish product and I love it.
Tip one - spend time fitting the canvas, I did and I did not regret it. I had my sewing machine on the boat and I improvised the work table made of full sheet of plywood beside the boat for cutting and measuring the canvas. Every piece of canvas I measured on site, cut on site and sewn on site.
Tip two – use basting tape, I didn’t at the beginning and I regret it now.
Tip three – take your time to sew every piece ensure full and proper seams, once finished do not fold the pieces, roll them. When you come to the stage of cutting windows you will not regret this.
Tip 4 – same applies to vinyl, roll it nicely, less wrinkled it is easier it will be to fit it, and the quality of work will improve.
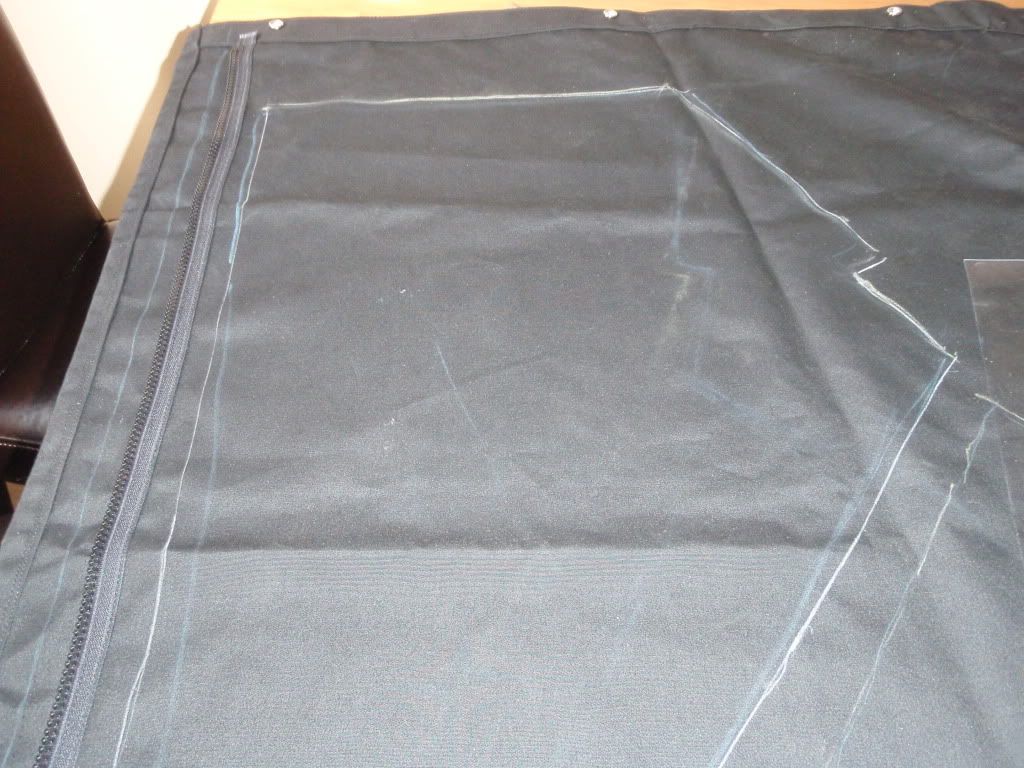
Once all canvas is fitted and all zippers and snaps on the right place I took the canvas home to cut and sew the windows. General advice from all professionals was to fit the canvas and then cut in the windows. Here is how I did it.
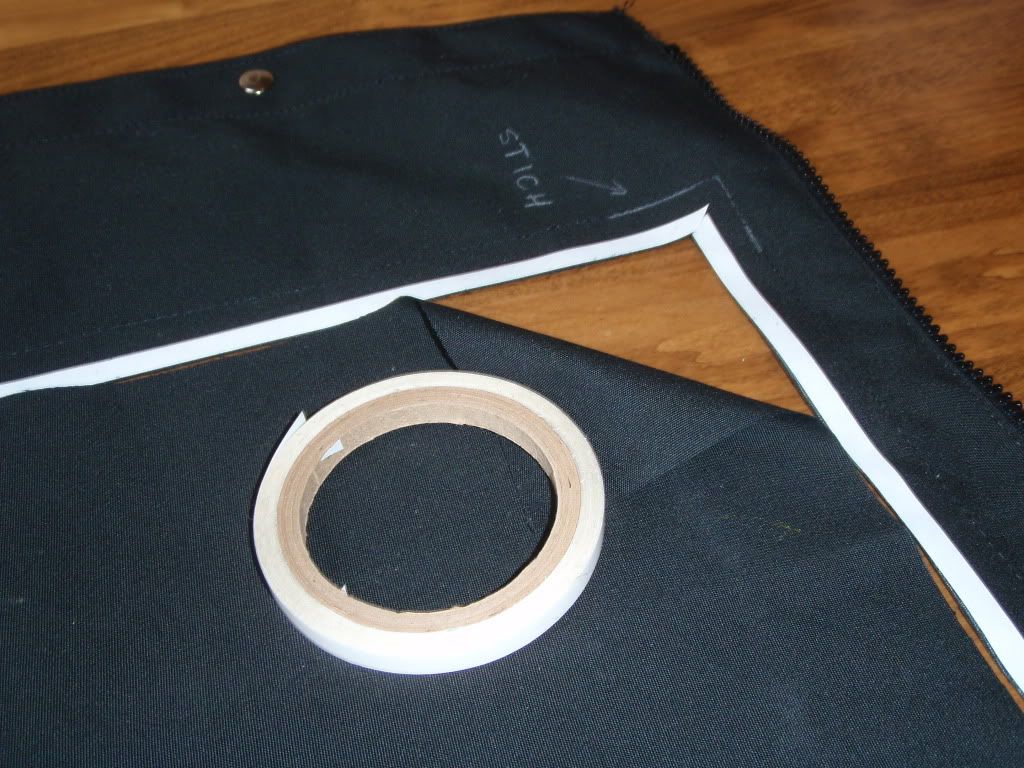
While canvas was on the boat I marked where I want the windows, you can see rough blue mark that had purpose of marking inside side of canvas to be sure that the zippers and snaps are installed on the right side. Once canvas was fitted I used yellow line for better marking. Then I laid vinyl over the top of it and marked the actual window on the vinyl with chalk. Then I cut out the window, lay it on the inside of the canvas and with white sharp soap marker outlined the edge of window (on the inside of the canvas)
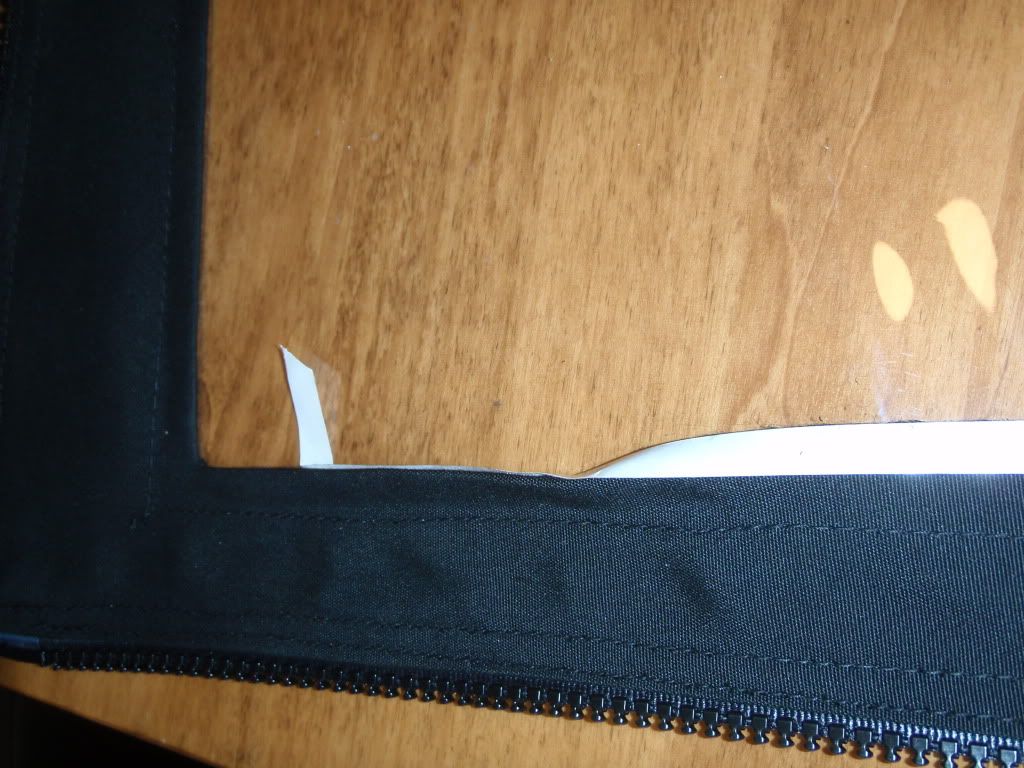
Then basting tape was applied following the marked line. Peel and expose the tape ans stick the window. Start from the corner and do not expose more then few inches of tape at the time. Once you have your window on the top it is easy, just peel the tape and keep pressing with your finger. When you finish the window should be taped right inside the line you marked. On the picture you can see one window already taped while I am outlining the second window,

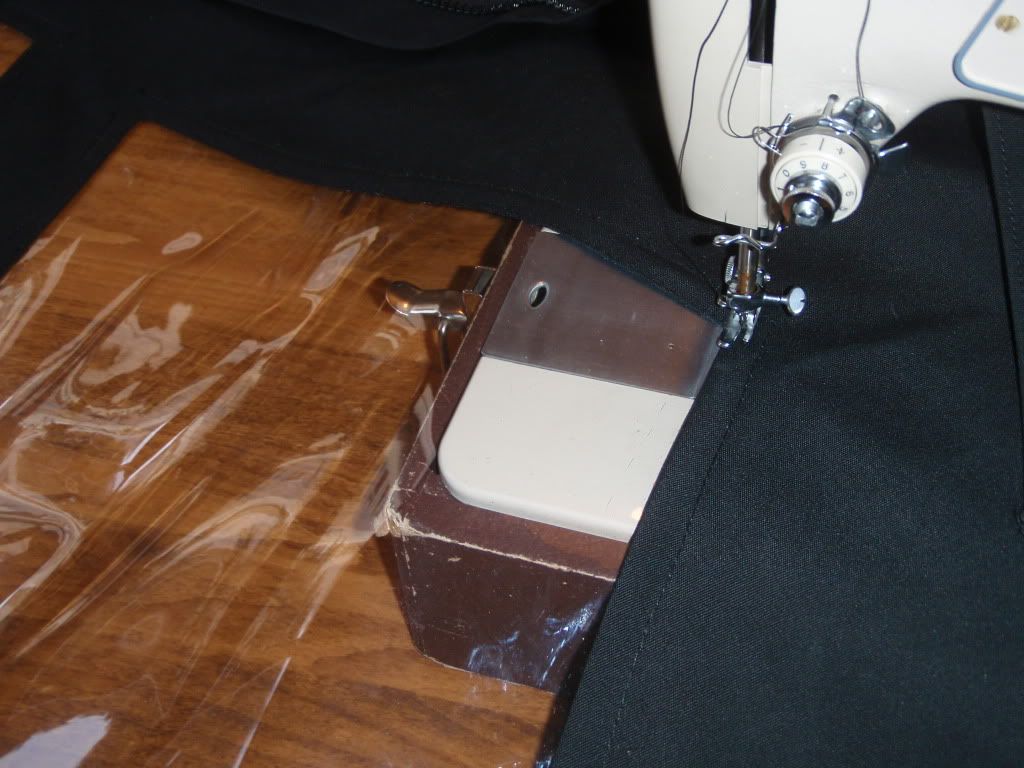
Then run the first stitch, I had the canvas at the bottom and vinyl at the top. I used 3/8” tape and run the stitch right in the middle of the tape.
Once you stitched complete window flip it over and mark the line where to cut out the canvas 7/8” from the stitch. Apply tape right on the line and then use the tape as guide for cutting.